Drawing a mortise and tenon joint is an essential skill in woodworking, allowing craftspeople to create strong and durable connections between two pieces of wood. This type of joint has been used for centuries in furniture making, cabinetry, and timber framing due to its simplicity and effectiveness. Learning how to draw a mortise and tenon joint accurately is crucial for planning, communication, and precision in woodworking projects. By mastering the basics of this joint, both beginners and experienced woodworkers can ensure their designs are functional and aesthetically pleasing.
Understanding Mortise and Tenon Joints
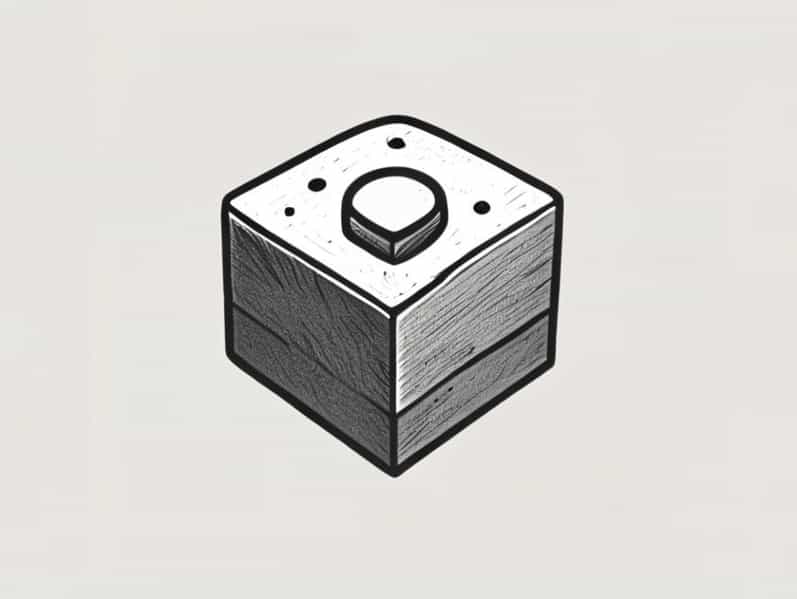
A mortise and tenon joint consists of two components the mortise, a rectangular cavity cut into one piece of wood, and the tenon, a projecting piece on the end of the second piece that fits snugly into the mortise. This joint can be used in a variety of applications, from table legs and chair frames to door frames and complex timber structures. Its strength comes from the tight fit between the mortise and tenon, often reinforced with glue or pins for added stability.
Types of Mortise and Tenon Joints
There are several variations of mortise and tenon joints, each with specific uses and advantages
- Through Mortise and TenonThe tenon passes completely through the mortise, often visible on the opposite side of the joint.
- Blind Mortise and TenonThe tenon does not extend through the mortise, giving a cleaner appearance on the visible surface.
- Shouldered Mortise and TenonIncludes a shoulder that helps prevent twisting and increases the surface area for glue, adding strength to the joint.
- Wedged Mortise and TenonFeatures a tenon that is secured with a wedge, locking the joint tightly in place for extra durability.
Tools Needed to Draw a Mortise and Tenon Joint
Before drawing a mortise and tenon joint, it is important to have the right tools. These include
- Pencil or technical pen for precise lines.
- Ruler or straightedge to ensure accurate measurements.
- Square to maintain correct angles and alignment.
- Graph paper or CAD software for detailed planning and scaled drawings.
Having these tools ensures that the joint is represented accurately and can be translated into a physical woodworking project without errors.
Steps to Draw a Mortise and Tenon Joint
Drawing a mortise and tenon joint involves several clear steps to ensure precision and clarity
- Step 1 Sketch the PiecesBegin by drawing the two pieces of wood that will be joined. Label them as the rail and the stile or beam and post, depending on the project.
- Step 2 Draw the MortiseOn the piece that will receive the tenon, mark the position of the mortise. Draw a rectangular cavity according to the intended size of the joint.
- Step 3 Draw the TenonOn the mating piece, draw the tenon that will fit into the mortise. Ensure the tenon’s width and depth match the mortise for a snug fit.
- Step 4 Add Shoulders (if applicable)Include shoulders around the tenon if the joint requires additional stability or aesthetic appeal. Shoulders prevent twisting and improve the joint’s appearance.
- Step 5 Indicate DimensionsLabel the width, height, and depth of both the mortise and tenon. Include any additional notes, such as glue placement or wedge positions.
- Step 6 Use Perspective or Section ViewsFor clarity, draw the joint in multiple views, including side view, front view, and cross-section, to show how the pieces interlock.
Tips for Accurate Drawings
Accuracy in drawing mortise and tenon joints is essential for successful woodworking. Some tips include
- Always measure twice and draw once to minimize errors.
- Use consistent line weights to differentiate between edges, cuts, and hidden lines.
- Label each part clearly, especially in complex projects with multiple joints.
- Consider drawing the joint at a larger scale to show detail before translating it to full-size plans.
- Review the drawing against woodworking standards to ensure the joint will be strong and functional.
Common Mistakes to Avoid
When drawing mortise and tenon joints, it is important to avoid common mistakes such as
- Incorrect proportions between the mortise and tenon, leading to loose or overly tight fits.
- Omitting critical dimensions, which can cause confusion during construction.
- Ignoring shoulders or clearances, which may result in misalignment or weak joints.
- Failing to consider grain direction, which can affect the strength and durability of the joint.
Applications of Mortise and Tenon Joints
Mortise and tenon joints are widely used in woodworking due to their strength and versatility. Common applications include
- Furniture frames such as tables, chairs, and cabinets.
- Door and window construction for structural integrity.
- Timber framing in construction, where long-lasting joints are essential.
- Decorative woodworking projects that require precise, clean joints.
Modern Enhancements
In modern woodworking, mortise and tenon joints may be enhanced using adhesives, mechanical fasteners, or CNC machines for precision cutting. While traditional hand tools are still valued for craftsmanship, modern techniques can improve accuracy and efficiency, especially in complex or mass-produced projects.
Drawing a mortise and tenon joint is a fundamental skill in woodworking that ensures strong, durable, and aesthetically pleasing connections between wooden components. By understanding the types of joints, using the right tools, and following accurate drawing techniques, woodworkers can plan and execute projects with confidence. Incorporating detailed dimensions, shoulders, and multiple views in drawings helps communicate the design clearly and facilitates precise construction. Whether for traditional furniture, timber framing, or modern woodworking projects, mastering the drawing of mortise and tenon joints is essential for both beginners and experienced craftsmen who value quality and precision in their work.