For artists of all levels, learning how to draw the Eiffel Tower can be both a rewarding challenge and an exciting opportunity to improve drawing skills. This famous Paris landmark, with its intricate iron lattice structure and elegant proportions, requires attention to detail, perspective, and patience. Whether you want to sketch it simply for fun or create a realistic architectural drawing, understanding its structure step by step will help you capture its grandeur on paper. By breaking the tower into manageable parts, anyone can learn how to recreate this symbol of France with accuracy and style.
Understanding the Eiffel Tower’s Structure
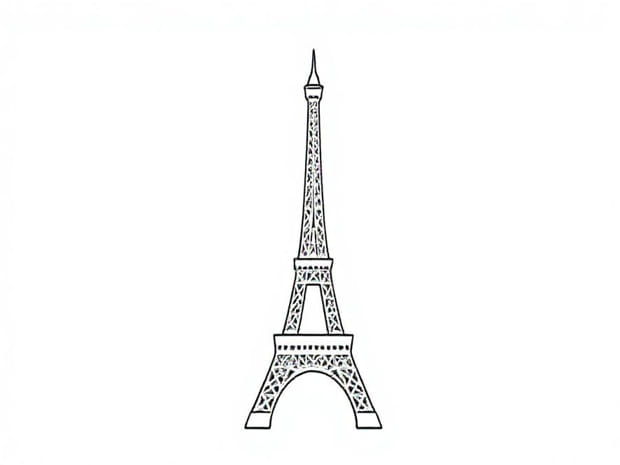
The Eiffel Tower is one of the most recognized pieces of architecture in the world. Standing over 300 meters tall, it was designed by Gustave Eiffel in the late 19th century. To draw it realistically, you should first study its general shape. Unlike many buildings, the tower is made up of four curved legs that rise and narrow as they meet at the top. These legs are joined by horizontal platforms at different levels. The iron latticework gives the tower its unique texture, which can be simplified in a drawing or made highly detailed depending on your artistic goal.
Gathering the Right Materials
Before starting your Eiffel Tower drawing, it is helpful to have the right supplies ready. While any pencil and paper will do, using proper tools makes the process smoother and allows you to refine your work. Here are some suggestions
- Pencils in varying grades (HB for sketching, 2B for shading, and 4B or darker for details).
- A ruler for accurate lines and proportions.
- An eraser, preferably kneaded, for correcting mistakes and softening highlights.
- Drawing paper or sketchbook that can handle light shading.
Breaking Down the Drawing into Steps
Step 1 Establish the Outline
Begin by drawing a vertical line in the center of your paper. This will act as a guideline for symmetry. The Eiffel Tower is perfectly balanced, so having a central axis ensures accuracy. From there, sketch a large triangular shape that will represent the overall silhouette of the tower. Keep this shape light, as it will be refined later.
Step 2 Draw the Base
The tower starts with four sturdy legs that curve outward at the bottom. Use your ruler to mark four points at the bottom of the triangle to position the legs. Then, draw lines upward that gradually curve inward, converging toward the top. This creates the iconic sweeping lines of the structure. Add a wide platform across the bottom, which is the first viewing deck.
Step 3 Add the Mid-Sections
Divide the tower into three sections with horizontal platforms. The first platform is located about one-third of the way up, the second two-thirds of the way, and the smallest near the top. Make sure these lines are parallel to the base to maintain balance. These platforms not only break up the shape but also guide where the lattice details will go.
Step 4 Shape the Upper Tower
As the tower rises above the second platform, it becomes thinner. Continue drawing the narrowing lines until they meet at the third platform. Finally, extend a thin spire at the top, which adds the finishing touch to the Eiffel Tower’s silhouette.
Step 5 Add Lattice Details
The most challenging part of learning how to draw the Eiffel Tower is capturing its iron framework. While you do not need to replicate every line, suggesting the lattice pattern gives your drawing realism. Use crisscross diagonal lines within each section of the tower to create a mesh-like appearance. Focus more detail near the base, and simplify as you move upward, as the details become less visible from a distance.
Step 6 Refine and Shade
Once the outline and details are in place, begin refining the lines, erasing unnecessary guidelines. Use shading to emphasize depth and perspective. The underside of the platforms and the inside of the legs should be darker to create the illusion of three-dimensional form. Adding shadows on one side can also suggest a light source, making the tower appear more realistic.
Tips for Drawing the Eiffel Tower Realistically
- Start simpleDo not try to add every small detail in your first attempt. Begin with the main shape and gradually layer details.
- Use reference photosHaving multiple angles of the Eiffel Tower helps you understand how its structure works in real life.
- Practice perspectiveThe tower narrows as it rises, so practicing perspective drawing improves accuracy.
- Work lightly firstKeeping your lines light at the beginning allows you to adjust proportions easily.
- Be patientThe Eiffel Tower’s design is intricate, so take your time with the lattice patterns.
Common Mistakes to Avoid
When drawing such a complex structure, beginners often face a few challenges. Being aware of these mistakes can help you avoid them
- Making the tower too straight and stiff without capturing the graceful curve of the legs.
- Placing the platforms unevenly, which disrupts the sense of balance.
- Overloading the lattice details, which can make the drawing look messy rather than realistic.
- Neglecting shading, which leaves the drawing looking flat.
Adding Artistic Style
Once you master the basics, you can experiment with different artistic approaches. Some artists prefer a very realistic Eiffel Tower drawing, complete with tiny lattice lines and shadows. Others prefer a looser, sketch-like style that emphasizes the overall silhouette rather than every detail. You can also play with mediums such as ink, charcoal, or digital drawing tools to give your Eiffel Tower sketch a unique finish.
Why Learning to Draw the Eiffel Tower Matters
Drawing the Eiffel Tower is not only about learning how to capture a famous landmark but also about improving fundamental artistic skills. It helps you practice perspective, symmetry, proportion, and detail. These skills transfer to other forms of art, especially architectural and cityscape drawing. Furthermore, drawing the Eiffel Tower can be a satisfying way to connect with culture and history, as the structure is more than just a tourist attraction it is a symbol of innovation, engineering, and artistic expression.
Mastering how to draw the Eiffel Tower requires patience, observation, and practice. By breaking down the process into simple steps starting with the outline, adding platforms, shaping the structure, and layering details you can create a drawing that captures the essence of this iconic landmark. Whether you choose to make it a quick sketch or a detailed piece of art, the Eiffel Tower offers endless inspiration. With time and dedication, your drawings will not only reflect accuracy but also carry your personal artistic style, making each sketch a tribute to Paris’s most famous monument.