Installing door weather stripping is an essential home improvement task that can help prevent drafts, reduce energy bills, and improve comfort inside your home. Many homeowners turn to YouTube tutorials to learn how to install door weather stripping because the platform provides clear visual instructions and step-by-step guidance. Understanding the process and having the right tools makes the installation straightforward, even for beginners. Proper installation ensures that doors seal effectively, keeping cold air out during winter and hot air out during summer, while also minimizing noise and dust.
What is Door Weather Stripping?
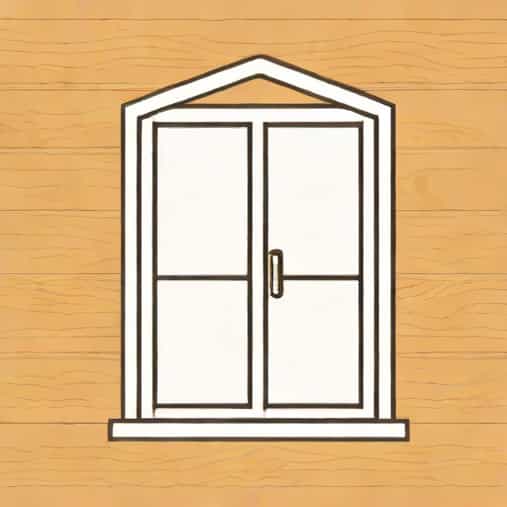
Door weather stripping is a material that seals the gaps around doors to prevent air, water, dust, and noise from entering a home. It comes in various forms, including adhesive foam tape, rubber gaskets, vinyl strips, and metal-backed seals. Choosing the right type of weather stripping depends on the door type, the size of the gap, and the level of insulation required.
Benefits of Installing Weather Stripping
- Reduces energy costs by preventing drafts
- Improves indoor comfort by maintaining temperature
- Minimizes noise from outside
- Prevents dust, insects, and moisture from entering
- Extends the lifespan of doors by reducing wear from drafts
Tools and Materials Needed
Before starting the installation, it is important to gather all necessary tools and materials. Watching YouTube tutorials often helps to visually confirm the list of items needed. Commonly required tools include
- Measuring tape to determine door dimensions
- Scissors or a utility knife for cutting weather stripping to size
- Screwdriver or drill for certain types of hardware-mounted strips
- Adhesive or nails for securing the weather stripping
- Cleaning supplies such as a cloth and mild detergent to prepare the surface
Ensuring all tools are ready before starting helps the installation go smoothly and reduces the risk of errors.
Step-by-Step Installation Process
Installing door weather stripping can be broken down into several manageable steps. YouTube tutorials often provide a visual representation, but the following steps give a clear written guide
Step 1 Measure the Door
Begin by measuring the perimeter of the door where the weather stripping will be applied. Accurate measurements ensure that you purchase the correct amount of material and cut it precisely to fit. Be sure to account for the top, bottom, and sides of the door frame.
Step 2 Clean the Door Frame
Before applying any weather stripping, thoroughly clean the door frame. Dirt, dust, and grease can prevent adhesive strips from sticking properly. Use a mild detergent and cloth to wipe down the surfaces, then allow them to dry completely.
Step 3 Choose the Right Type of Weather Stripping
Select the type of weather stripping that suits your door. Foam tape is ideal for small gaps and easy DIY projects, while rubber or vinyl strips offer durability and better sealing for larger gaps. Some doors may require a combination of materials for optimal insulation.
Step 4 Cut Weather Stripping to Size
Using scissors or a utility knife, cut the weather stripping to match the measured lengths of your door frame. Ensure that each piece fits snugly without excessive overlap, as this could interfere with door closure.
Step 5 Apply the Weather Stripping
For adhesive-backed strips, peel off the protective layer and carefully press the strip along the frame, ensuring it adheres firmly. For nails or screw-mounted strips, align the material with the door frame and secure it using the appropriate hardware. YouTube tutorials often demonstrate techniques for pressing strips evenly and avoiding gaps.
Step 6 Test the Door
After installation, open and close the door several times to ensure that it seals properly without binding. Adjust any areas where the strip may be too thick or misaligned. Proper alignment ensures that the weather stripping is effective and does not damage the door over time.
Tips for Effective Installation
For best results, consider the following tips
- Measure twice, cut once to avoid wasting material
- Ensure the adhesive is strong and suitable for the door surface
- Use a flat tool or your hand to press strips evenly for maximum adhesion
- Check for gaps after installation and fill them with additional strips if necessary
- Regularly inspect and replace weather stripping to maintain efficiency
Common Mistakes to Avoid
Some common mistakes include applying strips to a dirty or wet surface, cutting pieces too short, or using the wrong type of weather stripping for the door. Watching YouTube videos can help avoid these mistakes by showing proper techniques and common pitfalls.
Maintenance of Weather Stripping
To ensure long-term effectiveness, weather stripping should be inspected periodically. Clean the strips to remove dust and debris, and replace any sections that have become worn, cracked, or loose. Well-maintained weather stripping can last several years and continues to save energy and improve comfort in your home.
Installing door weather stripping is a practical and cost-effective way to improve energy efficiency, enhance comfort, and reduce noise in your home. Using YouTube tutorials for guidance provides visual instruction that can complement written guides and make the process easier, especially for beginners. By preparing tools and materials, carefully measuring and cutting, and following proper installation techniques, you can achieve a tight, effective seal around your doors. Regular maintenance will ensure that the weather stripping continues to perform optimally, providing long-term benefits for your home environment.