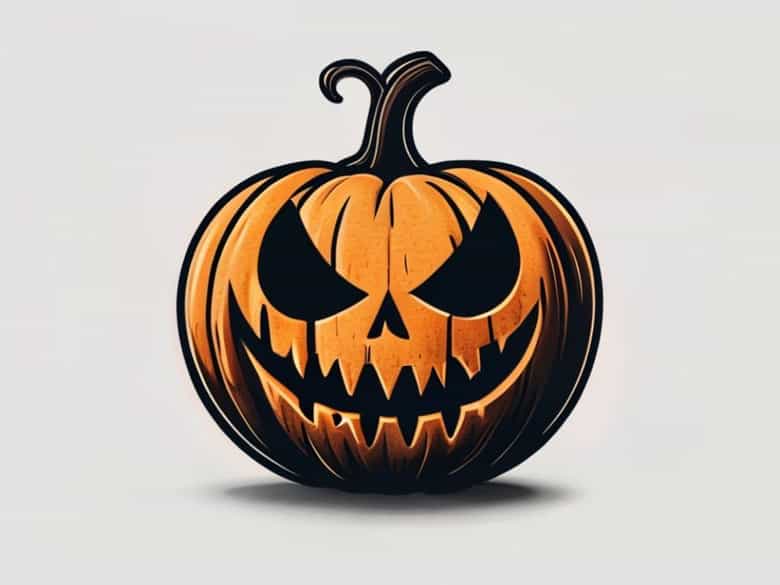
Pumpkin carving is a beloved Halloween tradition, and one of the most creative ways to celebrate is by carving pumpkins inspired by The Nightmare Before Christmas. This classic Tim Burton film has captured the hearts of audiences for decades, and its unique characters and spooky-yet-playful aesthetic make it perfect for pumpkin art. Carving a Nightmare Before Christmas pumpkin allows fans to bring their favorite characters to life, from Jack Skellington’s iconic face to Oogie Boogie’s mischievous grin. With the right tools, techniques, and inspiration, you can transform ordinary pumpkins into eye-catching decorations that celebrate both Halloween and the film’s darkly whimsical charm.
Choosing the Right Pumpkin
The first step in creating a Nightmare Before Christmas pumpkin is selecting the perfect pumpkin. Look for a pumpkin that is firm, evenly shaped, and has a smooth surface to make carving easier. For designs like Jack Skellington or Sally, a taller pumpkin works well for long, thin faces, while rounder pumpkins are better for characters with wide or circular features. Fresh pumpkins with minimal blemishes are ideal, as they are easier to carve and last longer on display.
Essential Carving Tools
To achieve the intricate details of Nightmare Before Christmas characters, a few essential tools are necessary
- Pumpkin carving knivesSmall, serrated knives work best for precision cuts.
- Clay sculpting toolsUseful for etching finer details and shaping facial features.
- Punching toolsHelp create patterns or transfer designs from templates onto the pumpkin.
- Scoops and scrapersEssential for cleaning out the pumpkin and thinning the walls for easier carving.
Planning Your Design
Before cutting into your pumpkin, it’s important to plan your design carefully. Consider which character from The Nightmare Before Christmas you want to feature. Jack Skellington’s face, with its large hollow eyes and stitched smile, is one of the most popular choices. Oogie Boogie, with his textured burlap-like body, can be represented using carving techniques that create depth and shadow. Sally, the patchwork rag doll, can be depicted using etching rather than full cut-outs to show intricate stitching and facial features.
Using Templates and Stencils
For beginners or those aiming for precise results, using templates or stencils can be very helpful. Print out a design, tape it to the pumpkin, and use a poking tool to trace the outlines onto the pumpkin’s surface. This ensures accuracy and provides a clear guide to follow while carving. Templates for The Nightmare Before Christmas characters are widely available online and can be scaled to fit your pumpkin’s size and shape.
Carving Techniques
Carving a Nightmare Before Christmas pumpkin involves a mix of cutting, scraping, and etching to achieve different effects. Here are some techniques to consider
Full Cut-Outs
Full cut-outs remove pieces of the pumpkin entirely, creating a hollow space where light can shine through. This technique works well for Jack Skellington’s eyes, mouth, and nose. Use small serrated knives to carefully remove pieces along the traced lines, taking care not to damage the surrounding pumpkin.
Etching and Shading
Etching or scraping away the surface layer without cutting all the way through creates shading and texture. This is perfect for characters like Oogie Boogie or Sally, where depth and dimension are important. Use sculpting tools to scrape thin layers of pumpkin flesh, allowing light to pass through partially and creating a glowing effect when the pumpkin is lit.
Layered Carving
Layered carving combines full cut-outs with etching, providing a more detailed and dimensional look. For example, you can carve Jack Skellington’s mouth fully but etch around the eyes to create subtle expressions. Layered carving requires patience and careful control but produces stunning results that capture the character’s personality and film-inspired details.
Lighting Your Pumpkin
The way you light your Nightmare Before Christmas pumpkin can enhance its spooky and whimsical appearance. Traditional candles can create a warm glow, while battery-operated LED lights provide safety and consistency. Placing the light inside the pumpkin highlights carved details, while positioning it at different angles can create shadows that add depth and drama. For outdoor displays, consider using multiple pumpkins with varying light sources to create a festive scene inspired by the film.
Tips for Long-Lasting Pumpkin Displays
- Keep the pumpkin cool and dry to prevent mold and rot.
- Apply petroleum jelly or vegetable oil to cut edges to slow dehydration.
- Store uncarved pumpkins in a cool, shaded area before carving.
- Use LED lights instead of real candles to reduce heat exposure.
- Consider spraying the carved pumpkin with a mild bleach solution to prevent mold.
Creative Ideas for Nightmare Before Christmas Pumpkins
Carving a pumpkin inspired by The Nightmare Before Christmas allows for endless creativity. Here are some ideas to get started
- Jack Skellington with exaggerated hollow eyes and stitched smile for a classic look.
- Oogie Boogie with textured etching to mimic his burlap appearance.
- Sally with patchwork patterns and stitched details using shallow etching.
- Zero, the ghost dog, carved with a glowing nose for a cute and eerie effect.
- A scene featuring multiple characters for a Halloween centerpiece.
Engaging Family and Friends
Pumpkin carving can be a fun and social activity, especially with a theme like The Nightmare Before Christmas. Invite family members or friends to join in, assigning each person a different character to carve. This creates a collaborative and festive atmosphere while allowing everyone to showcase their artistic skills. Group carving sessions also offer an opportunity to share tips, templates, and techniques, making the process enjoyable for beginners and experienced carvers alike.
Safety Precautions
Carving pumpkins involves sharp tools, so safety is crucial. Always supervise children and provide age-appropriate tools. Use carving knives carefully, cutting away from yourself, and keep the work area well-lit and organized. Wearing gloves can provide additional protection, and using stable surfaces reduces the risk of accidents. Taking these precautions ensures a fun and safe pumpkin carving experience.
Carving pumpkins inspired by The Nightmare Before Christmas combines creativity, artistry, and a love for the classic film. By selecting the right pumpkin, planning the design, using templates, and employing carving techniques like cut-outs, etching, and layered carving, you can create visually striking decorations that capture the film’s spooky charm. Proper lighting and care extend the life of your pumpkins, while engaging family and friends adds a social and festive element. Whether you choose Jack Skellington, Oogie Boogie, Sally, or other iconic characters, Nightmare Before Christmas pumpkin carving offers a unique and enjoyable way to celebrate Halloween with imagination and style.